Installing expansion tank is a critical component in managing the thermal expansion of water in your plumbing system. This guide walks you through the process with clarity and precision, helping you understand both the technical and practical aspects of installation. Whether you’re a seasoned DIY enthusiast or a professional plumber, this guide will help you install a water heater expansion tank safely and correctly often alongside water heater repairs and installation services.
As explained, heating water increases pressure inside closed plumbing systems. An expansion tank absorbs this pressure, protecting pipes, valves, and the water heater itself.
What Is an Expansion Tank?
An expansion tank is a small tank divided into two sections by a rubber diaphragm. One side connects to your home’s plumbing system, while the other holds compressed air. As water heats and expands, the tank safely absorbs excess pressure, aligning with U.S. DE water-heating guidance to protect pipes, reduce system stress, and extend the life of your water heater.
Why Install an Expansion Tank?
- Pressure Regulation: Prevents excessive pressure that can damage pipes and fixtures.
- System Longevity: Reduces wear on the water heater and plumbing components.
- Safety: Lowers the risk of leaks or pipe bursts caused by thermal expansion.
When Is It Necessary?
An expansion tank is especially important in closed plumbing systems—those with backflow preventers or pressure-reducing valves (PRVs). These systems can trap expanding water, leading to pressure problems similar to those that cause low water pressure and pressure issues.
Before proceeding, planning and inspection matter. Reviewing the water heater inspection cost can help you decide whether installation should be paired with a professional system check.
Tools and Materials Needed
- Pipe wrench
- Adjustable wrench
- Teflon tape
- Pipe cutter
- Drill and appropriate bits
- Mounting brackets
- Expansion tank sized for your water heater
Step-by-Step Installation Process

Step 1: Turn Off the Water Supply
Shut off the main water supply to your home. This prevents water flow during installation and ensures safety.
Step 2: Drain the Water Heater
Attach a hose to the drain valve and route it to a safe drainage area. Open a hot water faucet to allow air into the system and speed up draining.
Step 3: Choose the Installation Location
The expansion tank should be installed on the cold-water supply line, upstream of the water heater. Proper placement helps reduce stress on the heater and can contribute to extending the average lifespan of a hot water heater.
Step 4: Cut the Pipe
Use a pipe cutter to make a clean, straight cut in the cold-water line. Remove burrs to ensure a tight seal.
Step 5: Install the T-Fitting
Apply Teflon tape to the threads and install a T-fitting. This fitting allows the expansion tank to branch off the main supply line.
Step 6: Mount the Expansion Tank
Secure the tank to a wall or ceiling using proper mounting brackets. The tank must be well-supported to handle its weight when full.
Step 7: Connect the Expansion Tank
Thread the tank into the T-fitting, using Teflon tape for a watertight seal. Tighten securely but avoid over-tightening.
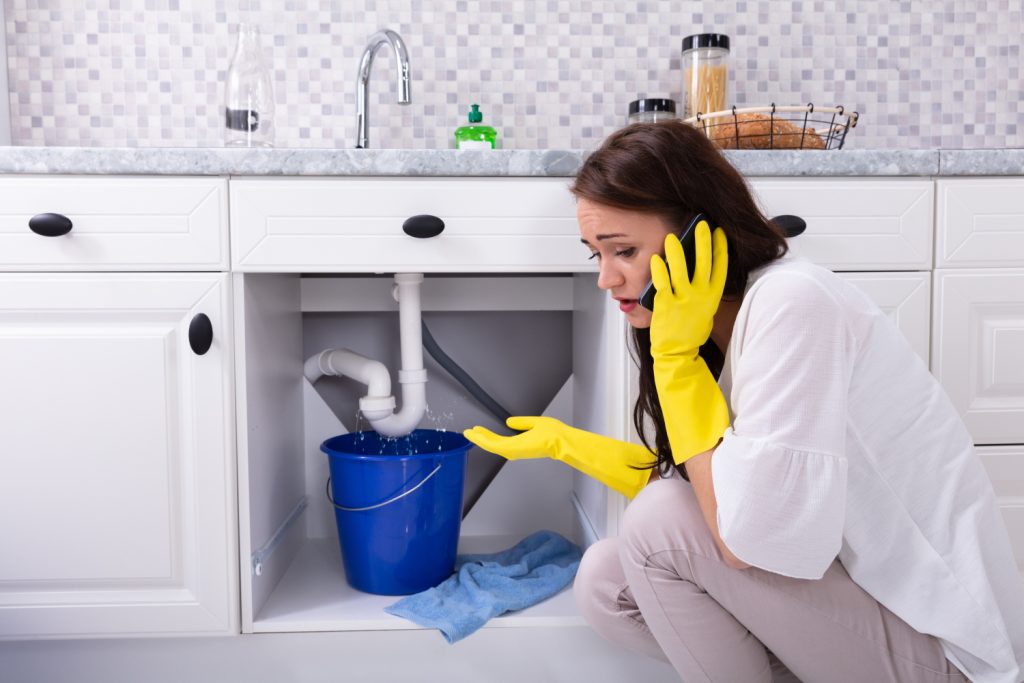
Step 8: Check for Leaks
Turn the water supply back on and inspect all connections. Tighten fittings if minor leaks appear.
Step 9: Test the System
Open multiple faucets to purge air from the system. Check the tank’s pressure with a gauge and confirm it matches manufacturer specifications. Proper testing aligns with general plumbing safety principles taught in technical and trade programs.
Maintenance and Troubleshooting
Regular Inspections
Inspect the expansion tank periodically for corrosion, leaks, or unusual noises.
Pressure Adjustments
If pressure fluctuates, adjust the air charge using a pump and gauge.
Professional Servicing
For ongoing issues or system upgrades, working with licensed professionals offering residential plumbing services ensures compliance with ASPE.
Conclusion
Installing an expansion tank is essential for protecting your plumbing system from thermal expansion damage. With careful planning, proper installation, and regular maintenance, your system will operate more safely and efficiently for years.
If you’d prefer expert assistance or want your system inspected and installed professionally, you can contact Master Plumber Service to schedule service and ensure everything is done right the first time.